How to build a simple HTML landing page using Tailwind CSS
How do I configure Tailwind CSS and Tailwind UI so I can build a simple HTML site?
The easiest way I've found is to use:
- Vite.js as a small frontend build tool
- Tailwind CSS as the CSS framework
- Tailwind UI for the pre-made design components (paid)
- Alpine.js for small Javascript sprinkles
- Github for hosting the repo and triggering builds
- Netlify for hosting the static site
Tutorial video
The problems I encountered
Previously, when I tried to configured Tailwind CSS for a new simple project, I would run into multiple configuration errors.
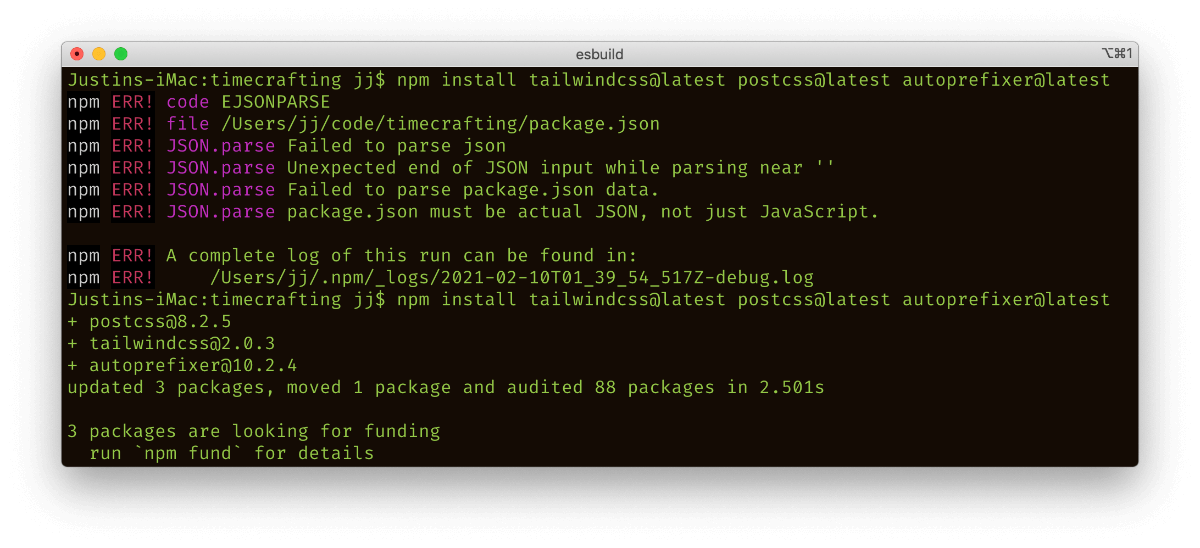
In retrospect, I didn't know I needed to create a package.json file first. (Or how to create it properly).
Regardless, Vite.js seems to solve a lot of my problems in that it takes care of a lot of the boilerplate code you need to start a project.
Install and configure Vite.js
Follow the instructions here: vitejs.dev/guide
First, go to your code projects folder. For me that, that's /code. (It contains all my projects)
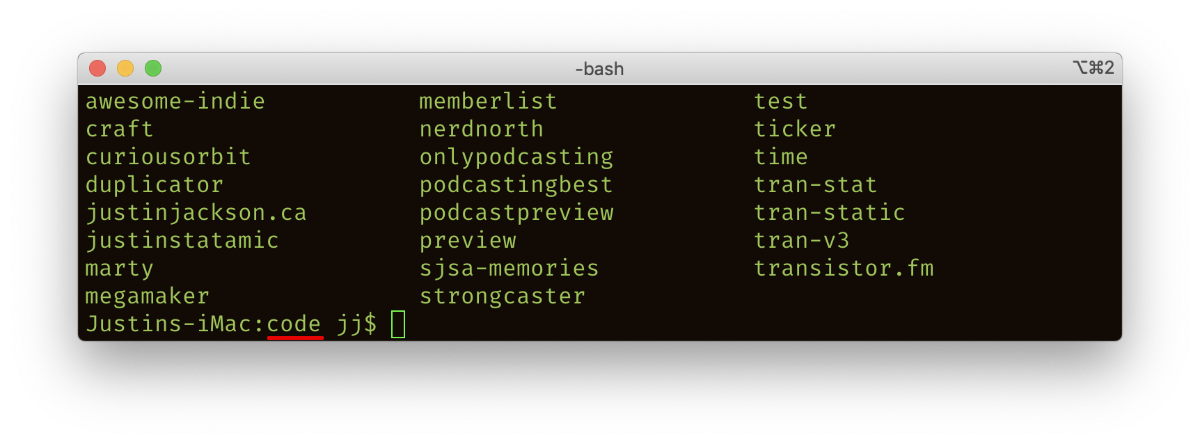
Don't create your new project's directory yet (Vite will do that). Start your Vite project like this:
With NPM:
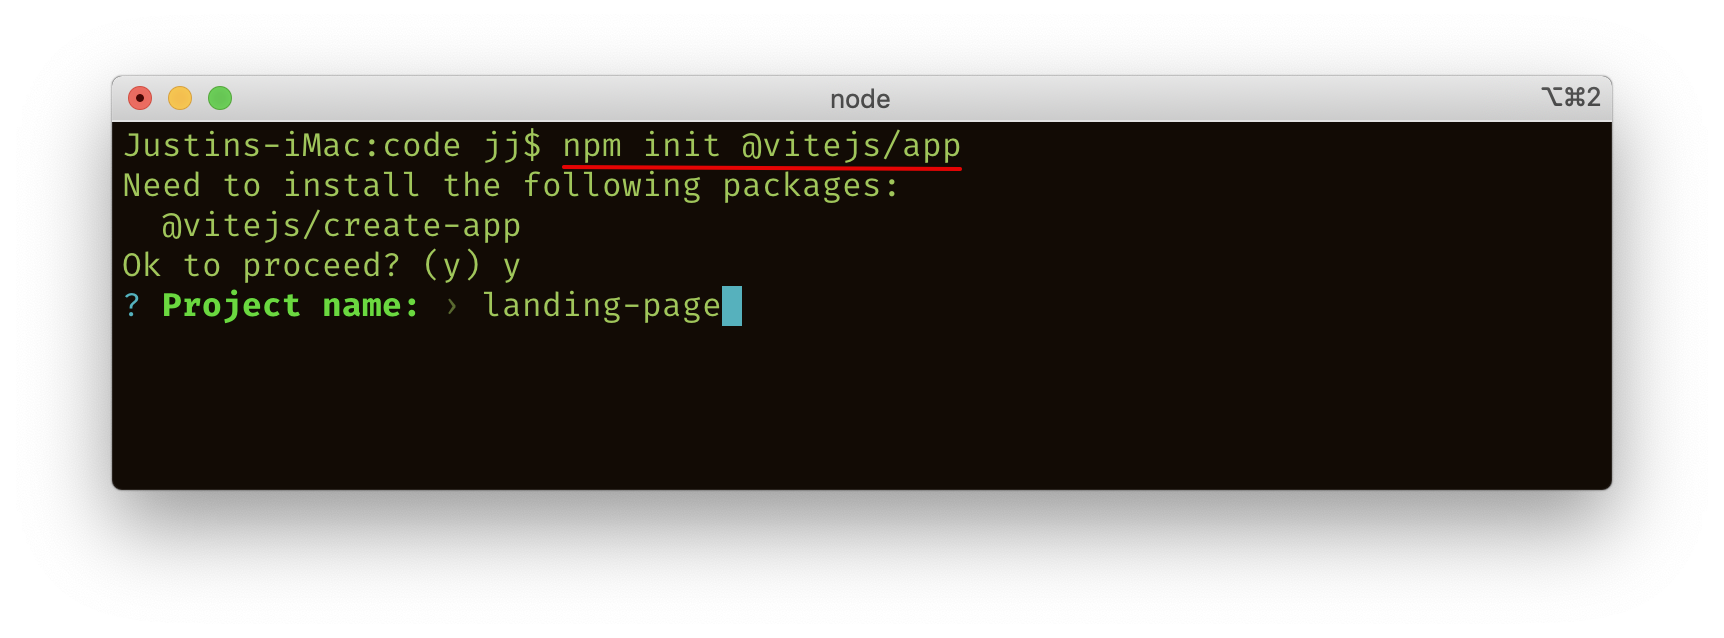
$ npm init @vitejs/app
Or with Yarn:
$ yarn create @vitejs/app
Vite will ask you for a project name (this will be used as your project's folder name as well).
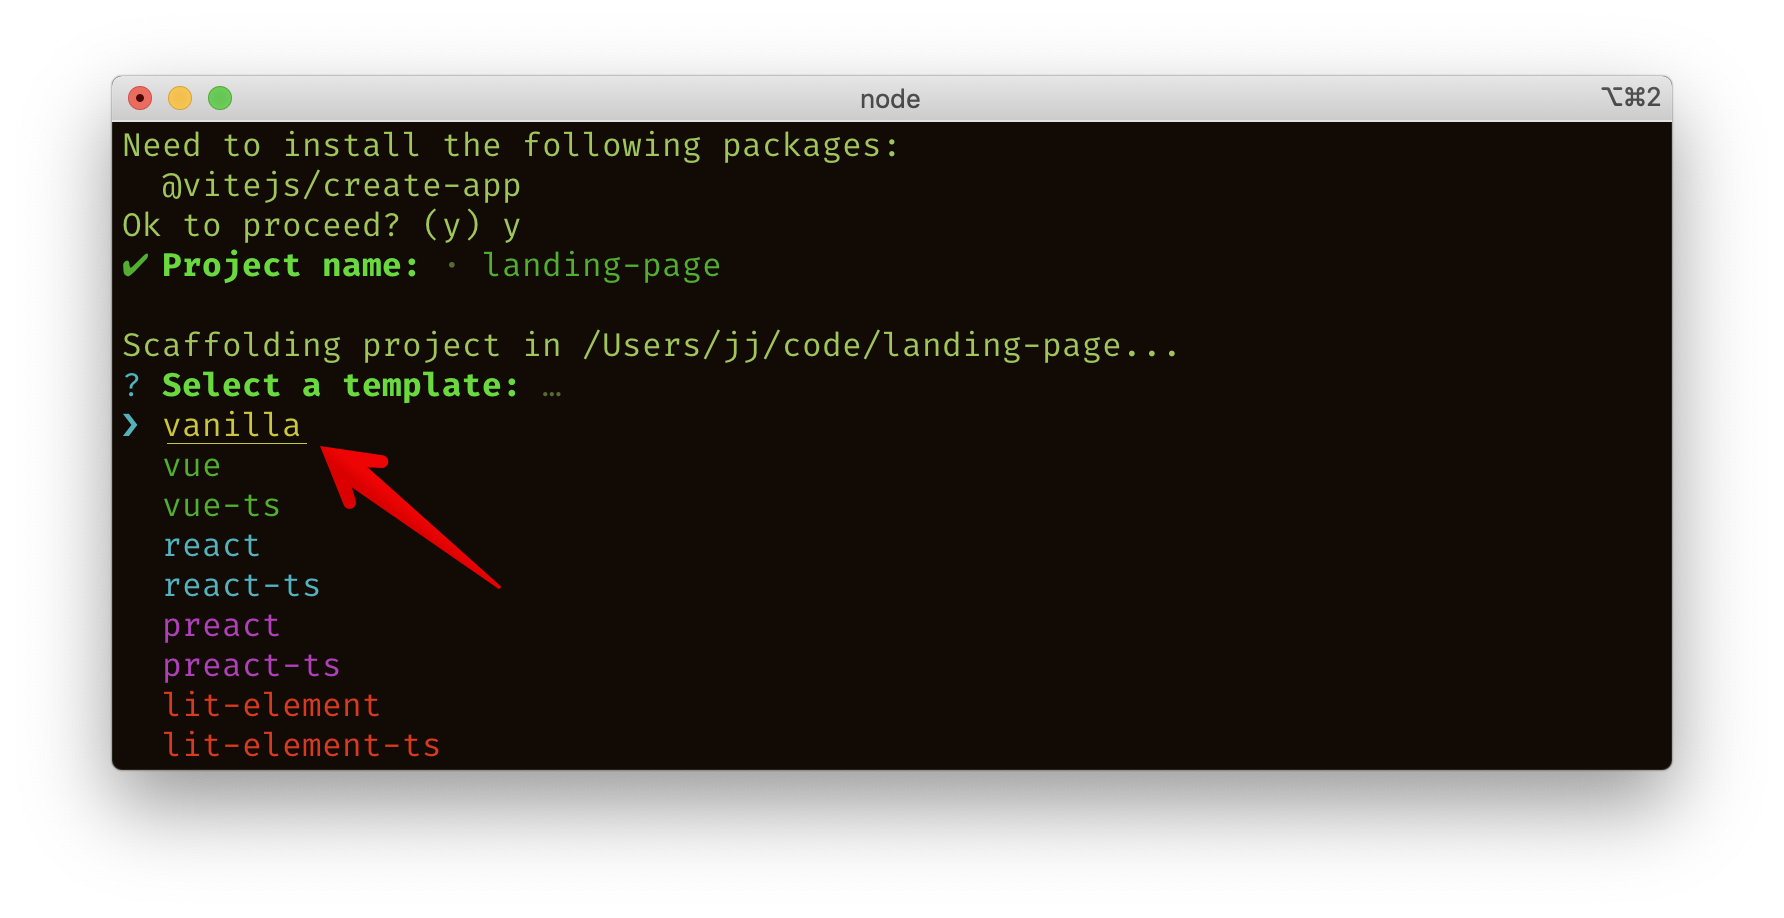
Vite will also ask you to choose a template; choose "Vanilla."
Vite will now generate your project folder, and index.html , style.css, main.js, etc..
Now, get into your new folder (cd new-folder) and run npm install:

Once that's done and you run npm run dev, Vite will fire up a local server for you:
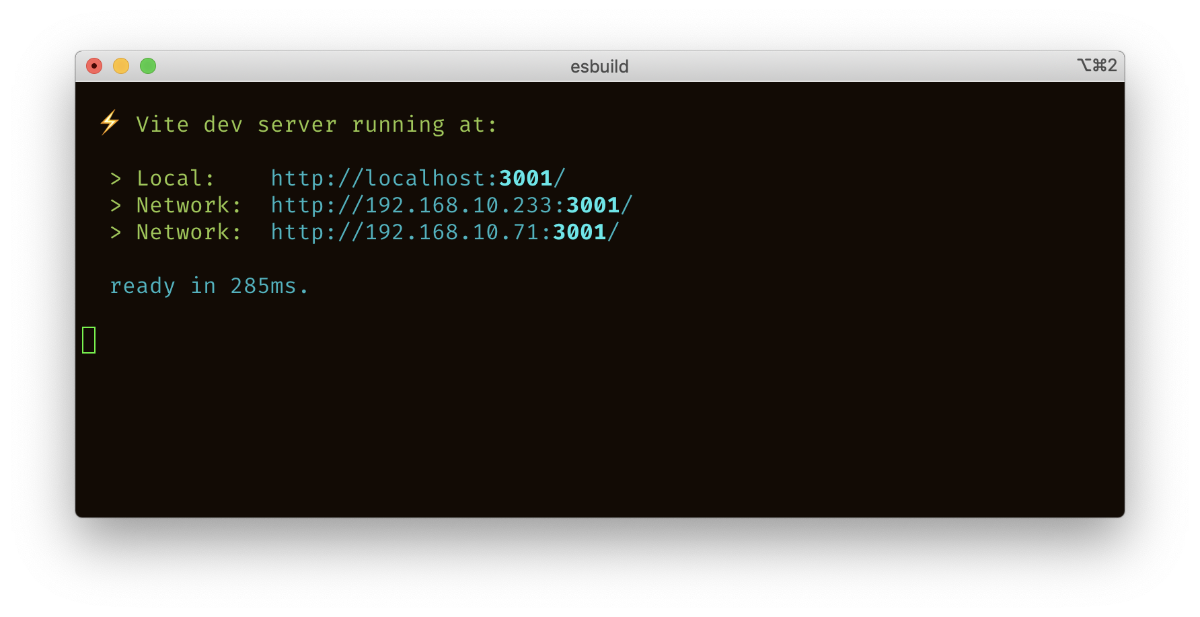
In this case, I can open http://localhost:3001/ in my Chrome, and index.html will load. This should auto-update as you make changes to your code.
Install and configure Tailwind CSS
Now we'll install Tailwind, but we're going to add --save-dev to the install command. This command will save Tailwind dependencies under devDependencies section of your package.json:
Install Tailwind CSS using this command:
npm install tailwindcss@latest postcss@latest autoprefixer@latest --save-dev
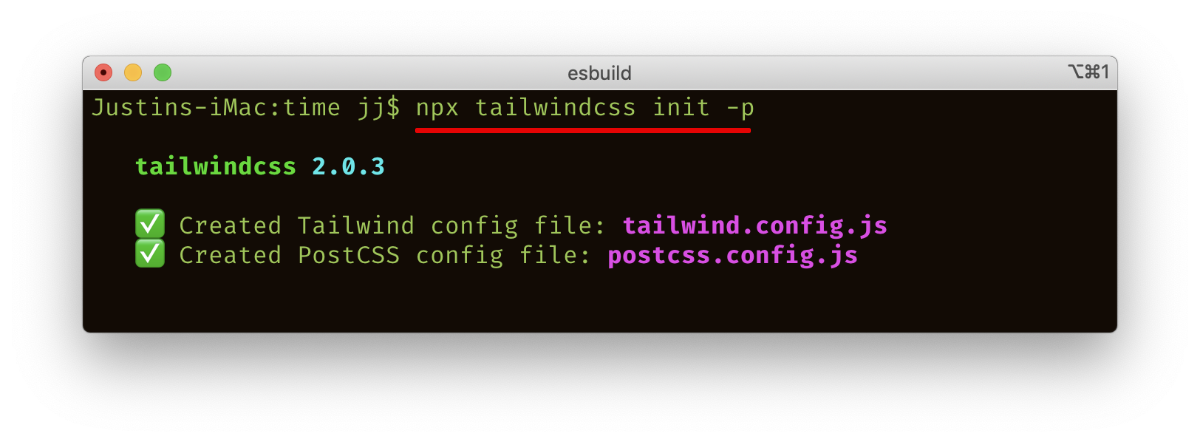
The next step after installing Tailwind is to create the configuration file:
npx tailwindcss init -p
(The -p at the end will create a postcss.config.js file at the same time)
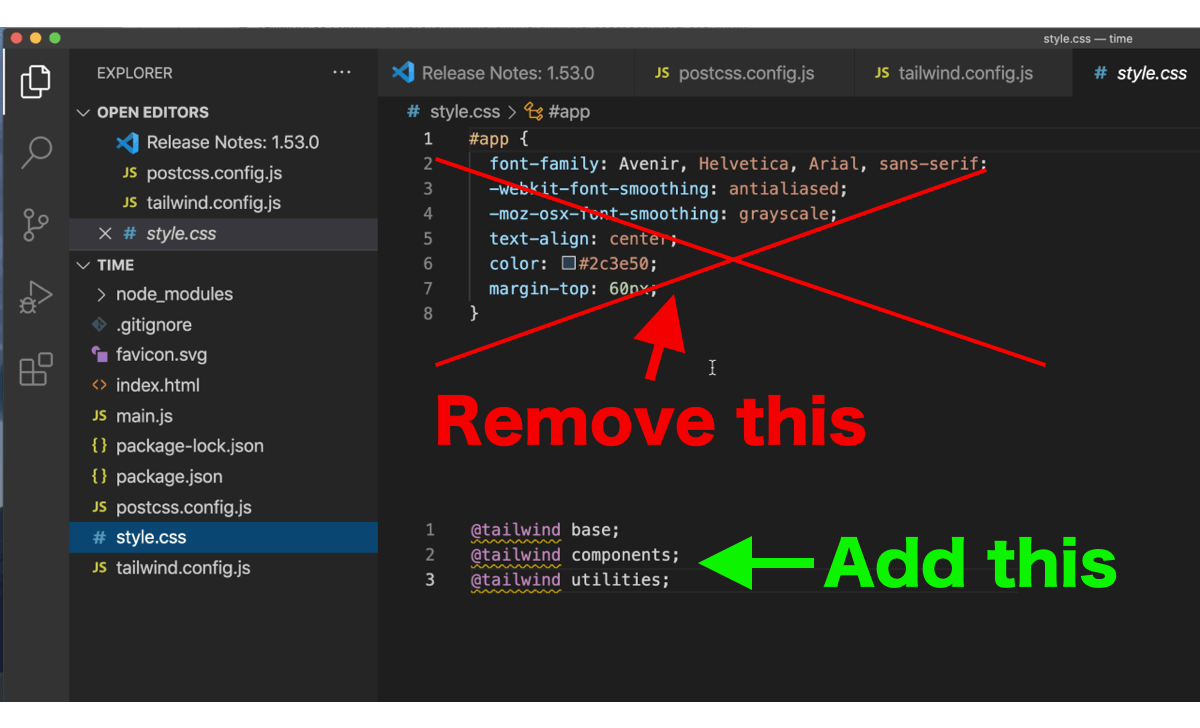
Edit style.css
Now, open up style.css in your code editor. You'll want to remove the auto-generated CSS and add these Tailwind directives:
@tailwind base;
@tailwind components;
@tailwind utilities;
Edit main.js
For most projects, you can just remove any auto-generated code in the main.js file as well.
Edit index.html
Make sure you link to style.css from your index.html file:
<link rel="stylesheet" href="/style.css">
Then, add an H1 with some Tailwind specific classes so we can test it and make sure it's working.
<h1 class="text-3xl md:text-5xl text-gray-500 text-center font-semibold mx-auto">
Hello, is this working?
</h1>
Test it out
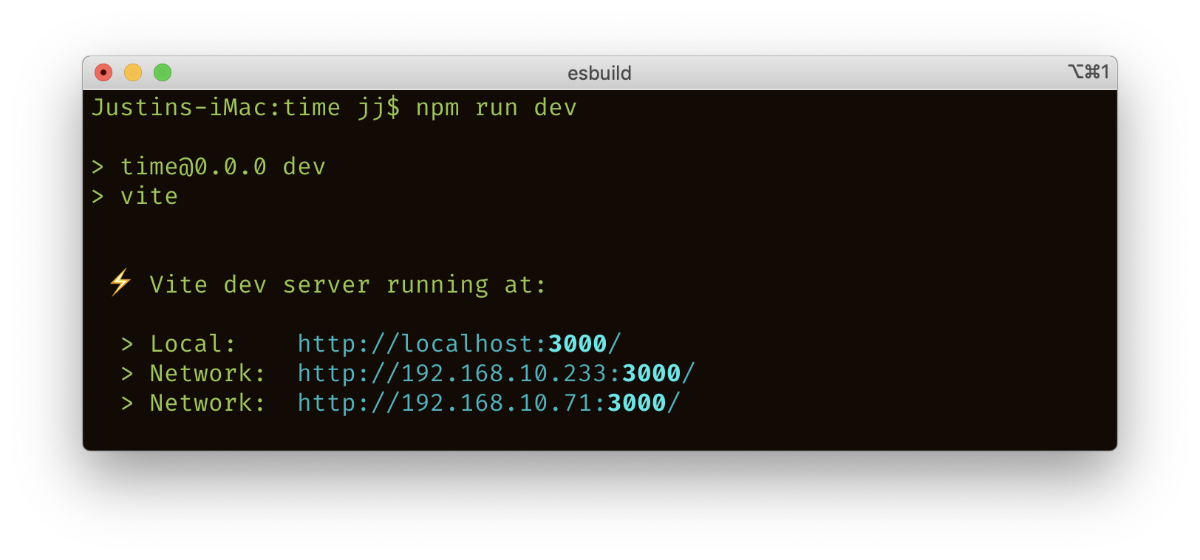
If you've done everything right, you should be able to start your dev server in the command line:
npm run dev
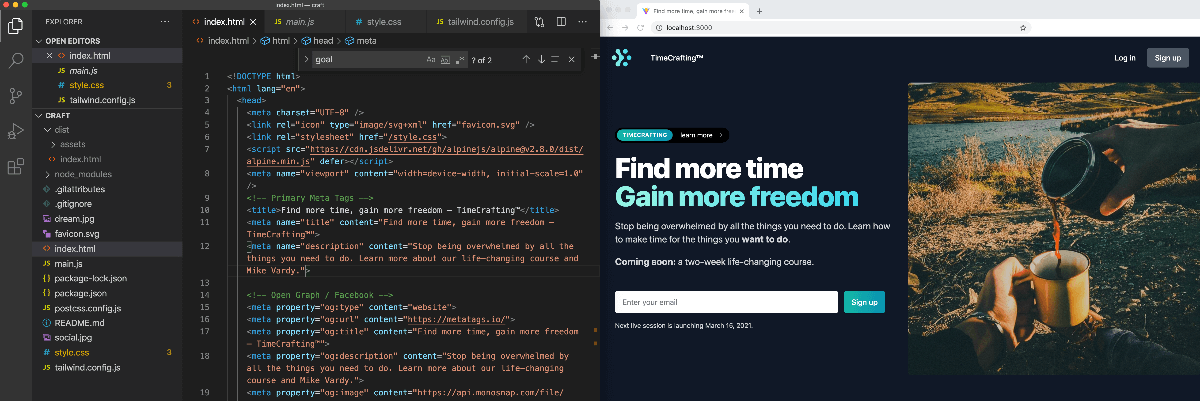
This will start the local server, which you can access in your web browser (usually at http://localhost:3000/).
It might take a little while to load the first time, but if it's working properly you should see the preview in your browser, with Tailwind classes applied.

Now that you have it working, you can start adding new content to index.html. You can even go grab some of the pre-built components from tailwindui.com.
Hopefully, this has been helpful! As a beginner, it always frustrated me when tutorials were missing steps or screenshots, so I've tried to include as much detail as possible.
Cheers,
Justin Jackson
@mijustin
Co-founder of Transistor.fm